はじめに
この記事では、craete-react-appのV5で作成したReactプロジェクトに対して、React RouterのV6をインストールして複数URLでページを表示させるための作業を説明します。
バージョン
この記事は下記バージョンのパッケージで動作確認しています。
-
craete-react-app
- ver5.0.0
-
React
- 17.0.2
-
React Router
- 6.2.1
前提条件
- craete-react-appで作成したReactプロジェクトが作成済みであること
作業手順
- React Routerのインストール
React Router ver6.xの最新版をインストールします
$ npm install react-router-dom@6
パッケージがインストールされたこと、インストールされたバージョンを確認します。
$ npm list react-router-dom
└── react-router-dom@6.2.1
src/index.tsの書き換え
create-react-appが用意したsrc/index.tsをエディタで開きます。
ファイルの先頭にreact-router-domからBrowserRouterをインポートし、<App />を<BrowserRouter>で囲みます。これで、Appの下ではReactRouterのルーティング機能が使えるようになります。
- 変更前
import React from 'react';
import ReactDOM from 'react-dom';
import './index.css';
import App from './App';
import reportWebVitals from './reportWebVitals';

ReactDOM.render(
  <React.StrictMode>
    <App />
  </React.StrictMode>,
  document.getElementById('root')
);

// If you want to start measuring performance in your app, pass a function
// to log results (for example: reportWebVitals(console.log))
// or send to an analytics endpoint. Learn more: https://bit.ly/CRA-vitals
reportWebVitals();
- 変更後
import React from 'react';
import ReactDOM from 'react-dom';
import { BrowserRouter } from "react-router-dom";
import './index.css';
import App from './App';
import reportWebVitals from './reportWebVitals';

ReactDOM.render(
  <React.StrictMode>
    <BrowserRouter>
        <App />
    </BrowserRouter>
  </React.StrictMode>,
  document.getElementById('root')
);

// If you want to start measuring performance in your app, pass a function
// to log results (for example: reportWebVitals(console.log))
// or send to an analytics endpoint. Learn more: https://bit.ly/CRA-vitals
reportWebVitals();
src/App.tsxの書き換え
src/App.tsxの内容をルーティング対応します。既存のタグを消して全体的に書き換えます。
変更前のコードは下記の通りです。
import logo from './logo.svg';
import './App.css';

function App() {
  return (
    <div className="App">
      <header className="App-header">
        <img src={logo} className="App-logo" alt="logo" />
        <p>
          Edit <code>src/App.tsx</code> and save to reload.
        </p>
        <a
          className="App-link"
          href="https://reactjs.org"
          target="_blank"
          rel="noopener noreferrer"
        >
          Learn React
        </a>
      </header>
    </div>
  );
}

export default App;
変更後では、react-router-domからRoutesとRouteをインポートし、3つのURLをルーティングします。
本来であれば、Home Profile, Aboutは独立したファイルに分離したほうが良いですが、今回は動作確認なので単一のファイルに記載しています。
import * as React from "react";
import { Routes, Route } from "react-router-dom";
import "./App.css";

function Home() {
  return (
      <div>
        home pageです
      </div>
  );
}

function Profile() {
  return (
      <div>
        profile pageです
      </div>
  );
}

function About() {
  return (
      <div>
        about pageです
      </div>
  );
}

function App() {
  return (
      <div className="App">
        <h1>Hello world!</h1>
        <Routes>
          <Route path="/" element={<Home />} />
          <Route path="profile" element={<Profile />} />
          <Route path="about" element={<About />} />
        </Routes>
      </div>
  );
}

export default App;
動作確認
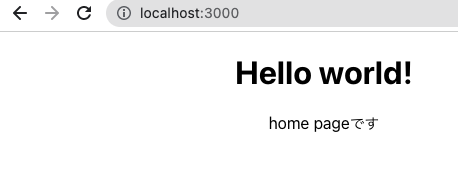
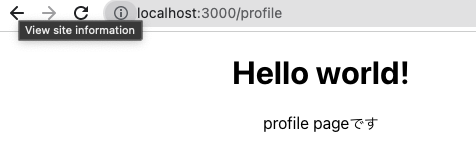
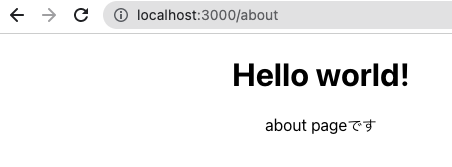
ブラウザからRouteで定義したそれぞれのURLにアクセスすると、URLのパスに応じてコンテンツの内容が書き換わっていることが確認できます。
関連記事